Scheduled Visitors and Scheduled Events
Scheduled Visitors:
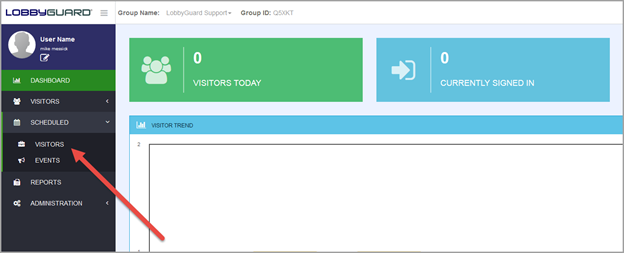
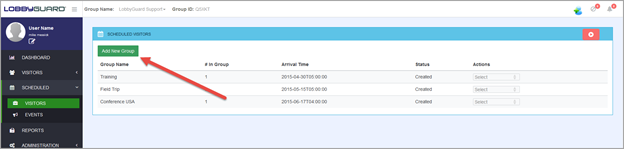
Select the VISITORS sub-tab located under SCHEDULED
Select the green “Add New Group” tab to begin creating a new group
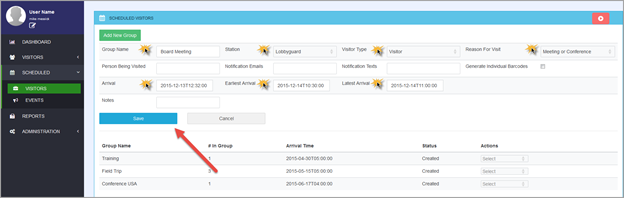
Ensure entries have been created where the  stamps are located and select SAVE as shown below;
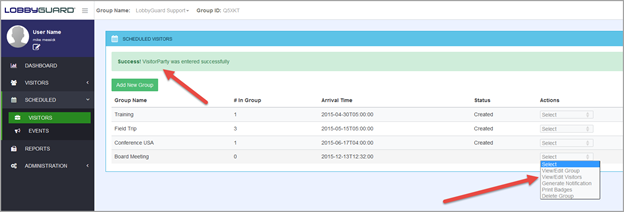
You should see “Success! Visitor Party was entered successfully” once saved, now you will need to select “View/Edit Visitors” from the Actions pick-list located to the right of your new group.
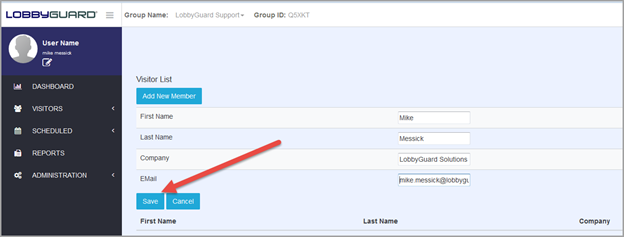
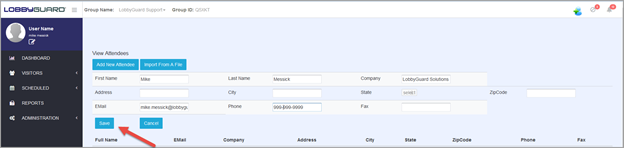
Include First Name, Last time, Company, and a valid email address then click SAVE
Once you are back at the SCHEDULED VISITORS screen you have the option to generate notifications, and print badges. Generate Notifications; an email will be sent to the visitor using the email address included in Step 5 that will include a barcode allowing them to sign in to the location provided in Step 3. Print Badges; this feature will pre-print LobbyGuard badges having them accessible as soon as they arrive at your location, keep in mind these visitors will be automatically signed in to your kiosk(s). You will need to have a DYMO printer attached to your PC when using this feature.

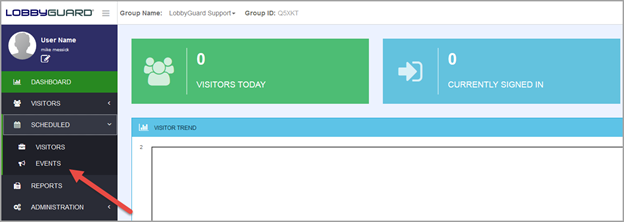
Scheduled Events:
Select the EVENTS sub-tab located under the SCHEDULED tab
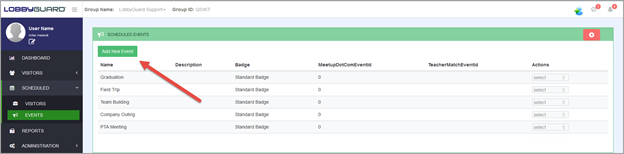
Select “Add New Event” to begin creating your new scheduled event
Create a Name for the event and ensure a badge template is selected, then click SAVE
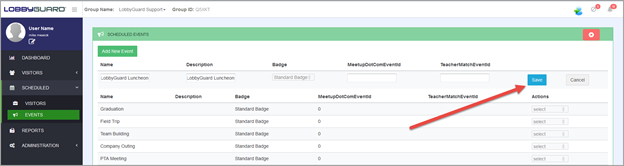
You should see “Success! Event was entered correctly”, you should now select “Show Attendees” to begin adding visitors to this event

Choose the option to “Add New Attendee” and ensure the first and last name are entered at a minimum
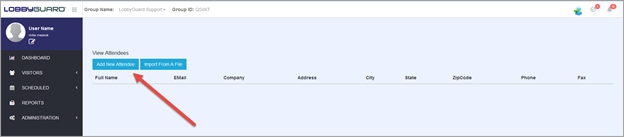
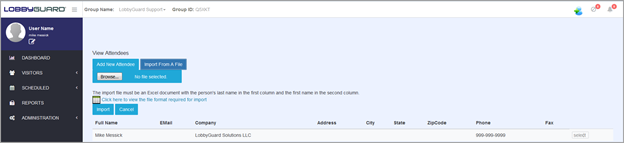
Choose “Import From a File” to upload a .xls containig the names of visitor that will be attending this event

LobbyGuard provides a sample template for customers to use when uploading a .xls, please ensure your spreadsheet matches this example or you may have issues uploading your .xls. Select the Browse button to find your spreadsheet then select Import
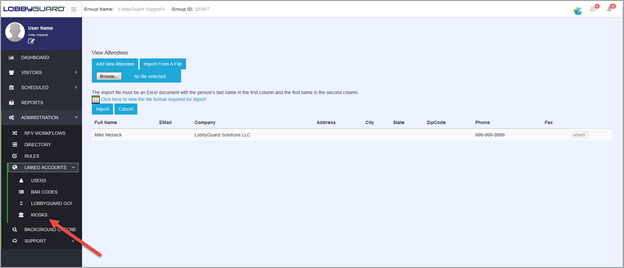
You will need to select the KIOSKS sub-tab located under LINKED ACCOUNTS
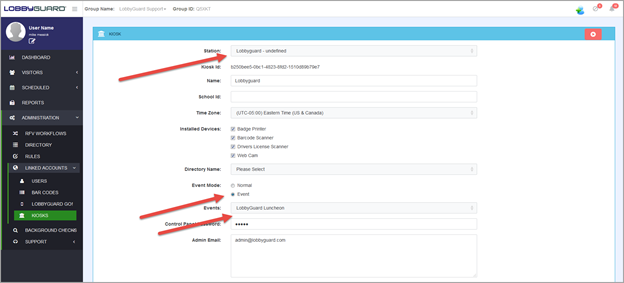
Ensure the correct station that will be hosting this event is selected, and Event Mode is set to “Event”. You will need to make sure the event you just created is selected from the Events picklist when you are ready to put your LobbyGuard product in Event Mode
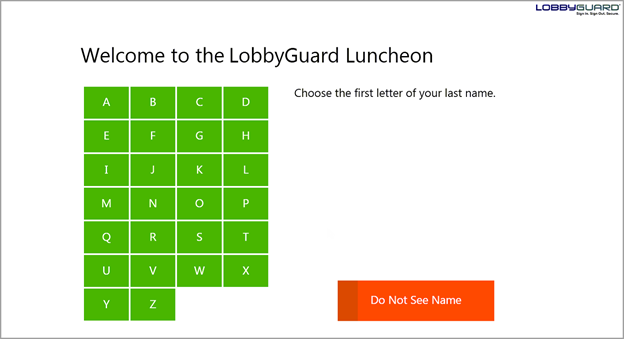
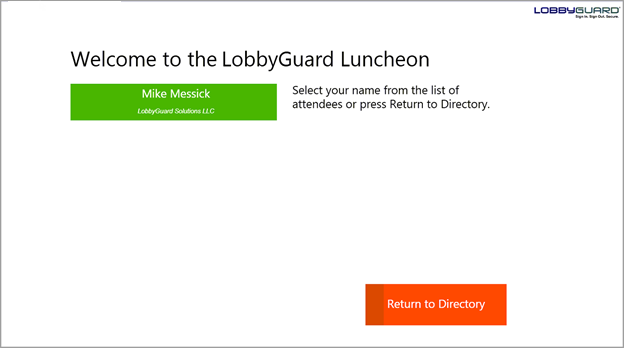
Restart your LobbyGuard product and you will see the name of the event, visitors that you added in Step 5 or Step 6 will need to select the first letter of their last name to sign-in to the kiosk(s)