LobbyGuard Advanced Training
This training module builds on the basics covered in the LobbyGuard Basic Training course. If you have not yet completed LobbyGuard Basic Training you can click here to access it then return to Advanced Training when completed.
LobbyGuard Advanced Training will take approximately 1 hour to complete. To make the most of this training course you should have access to your LobbyGuard Kiosk product as well as a separate PC with internet access and a web browser. Each step below contains a description of the topic and a link to the full article. Read each article and follow the examples and return to this page for the next step.
If you need any assistance with any of these steps contact support@lobbyguard.com.


Step 1: The LobbyGuard FrontDesk Dashboard
The FrontDesk dashboard gives users a quick overview of visitor traffic at the respective LobbyGuard location(s). A visitor trend graph is provided as well as a visitor breakdown by reasons for visits. You will automatically have access to the dashboard screen when you login to your LobbyGuard FrontDesk account via frontdesk.lobbyguard.com.


Step 2: FrontDesk User Account Settings
LobbyGuard allows users to manage their very own FrontDesk account. Users are able to change their user name, submit link request to other LobbyGuard Groups, and Change your password. Click here for instructions on managing your User Account Settings


Step 3: Adding New Users: Linking and Rights
Joining a LobbyGuard Group allows multiple persons to have access to a group via frontdesk.lobbyguard.com. When joining a LobbyGuard Group you will need to have the Group ID available to join an existing group. The Group Administration will need to LINK all requests for users in order for them to login to FrontDesk. Click here for instructions on JOINING a user to a LobbyGuard Group


Step 4: Scheduled Visitors and Scheduled Events
LobbyGuard gives customers the ability to pre-print visitor badges allowing a quick sign-in process that will prevent visitor traffic from becoming bottle-necked at your facility entrance. The option to have your LobbyGuard product put into an Even Mode is also available to allow visitors quick access to any planned event you may have at your facility. Click here to learn how to create scheduled visitors and events


Step 5: How to use LobbyGuard's Directory feature
The Directory feature in LobbyGuard FrontDesk allows your visitors to choose from a predetermined list of employees in the facility who they're going to be seeing throughout the duration of their visit. Upon choosing someone from the Directory, LobbyGuard has the ability to notify the selected person via email or SMS text Message that the person is there for them. Each Workflow that is created has the option to display this listing so it can be available only on the viable Visitor Types. Click here to learn how to use the FrontDesk Directory feature


Step 6: Advanced Features of the FrontDesk ‘Rules’
LobbyGuard provides customers with 9 different rules that have the ability to trigger 5 different actions. These actions include email and/or SMS text message notifications, signing out all visitors, and even powering down your LobbyGuard product. Click here to learn how to create and manage rules for your LobbyGuard product


Step 7: Working with LobbyGuard Keytags or Stick-On Barcodes
LobbyGuard provides customers the ability to have visitors "register" themselves with your LobbyGuard Product. This involves providing the visitor with a permanent plastic keytag, known as a LobbyGuard Frequent Visitor Keytag, or a LobbyGuard stick-on bar code which the visitor can use in future visits to quickly and easily sign in and out of the kiosk. Click here to learn how to register and manage a LobbyGuard Frequent Visitor


Step 8: FrontDesk Administration: LobbyGuard Go!
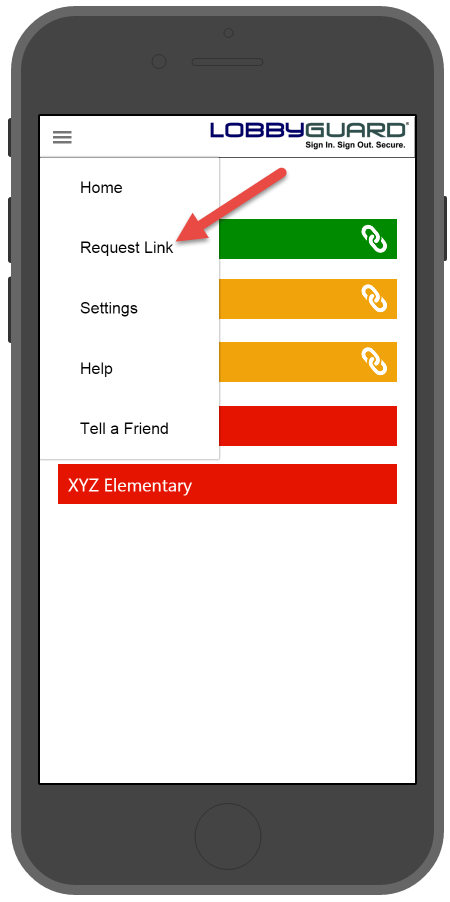
LobbyGuard Go! gives you the power and convenience to sign in and out of any LobbyGuard location direct from your smartphone or mobile device – but to do so you must first “link” to that location. This process allows the LobbyGuard location to control the use of LobbyGuard Go! Click here for instruction on how to use LobbyGuard Go!


Step 9: Match Audit
LobbyGuard provides its customers with a Match Audit page in FrontDesk that gives you the ability to reference past background failures at your LobbyGuard locations(s). If you determine that any record was not handled correctly you do have the option of changing how it was handled. Click here to learn how to access your Match Audit tab


Step 10: Creating your own Welcome screen for your LobbyGuard Product
Your LobbyGuard product provides a friendly welcome to visitors at your company building, office, or lobby. LobbyGuard gives customers the ability to customize their LobbyGuard product to reflect their style, design, or logo. Click here for instructions on adding your logo to your LobbyGuard product
